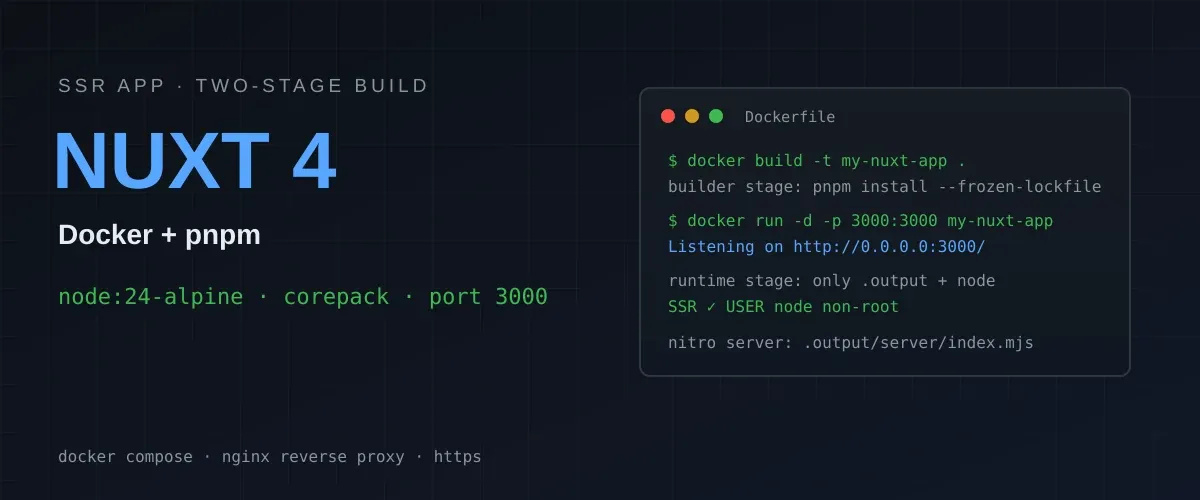
So you have a Nuxt 4 application with server-side rendering and you want to ship it in a Docker container using pnpm as the package manager. That's exactly what this post covers.
What are we doing?
Nuxt 4 builds your app into a self-contained .output directory that contains the Nitro server runtime. Our goal is a two-stage build:
- A builder stage that installs dependencies and runs the build with pnpm.
- A runtime stage that only contains the compiled output and the Node.js runtime.
The result is a small, production-ready image with no build tooling or dev dependencies in it.
Prerequisites
- Docker installed and running
- Node.js 24+ and pnpm installed locally (for building the lockfile)
- A Nuxt 4 project that builds with
pnpm build
Files that matter
Your project already has most of what we need:
package.json— scripts and, ideally, apackageManagerfield pinning pnpmpnpm-lock.yaml— committed to the repopnpm-workspace.yaml— more on this in a secondnuxt.config.ts— your Nuxt configuration.dockerignoreandDockerfile— created in the next steps
Step 1: Configure pnpm to allow esbuild
This one is easy to miss. Since pnpm 10, build scripts of dependencies are blocked by default for security reasons. Nuxt uses esbuild, which has an install script, so you need to explicitly allow it in your pnpm-workspace.yaml:
allowBuilds:
  esbuild: trueyaml
If you skip this, you'll see an Ignored build scripts: esbuild warning and the build will fail later with something like The esbuild binary for platform "linux-musl" cannot be found.
Step 2: Create the .dockerignore
Keep the build context small and, more importantly, avoid sending local dependencies or secrets into the image:
node_modules
.git
.output
.nuxt
.env
*.log
Dockerfile
.dockerignorebash
Step 3: The multi-stage Dockerfile
Here is the full Dockerfile:
FROM node:24-alpine AS builder

RUN corepack enable && corepack prepare pnpm@11.21.0 --activate

WORKDIR /app

COPY package.json pnpm-lock.yaml pnpm-workspace.yaml ./
RUN pnpm install --frozen-lockfile

COPY . .
RUN pnpm build

FROM node:24-alpine

USER node
WORKDIR /app
COPY --from=builder /app/.output ./.output

COPY --from=builder /app/posts ./posts

EXPOSE 3000
CMD ["node", ".output/server/index.mjs"]dockerfile
Let's go through it piece by piece.
The builder stage
FROM node:24-alpine AS builderdockerfileWe start from the same Node major version used locally. Alpine keeps the image small.
RUN corepack enable && corepack prepare pnpm@11.21.0 --activatedockerfileCorepack ships with Node and lets us pin the exact pnpm version. You can skip the version and rely on the packageManager field of your package.json instead, but pinning here makes the build deterministic regardless of the base image.
WORKDIR /app

COPY package.json pnpm-lock.yaml pnpm-workspace.yaml ./
RUN pnpm install --frozen-lockfiledockerfile
We copy the lockfile before the rest of the source. This way Docker can cache the dependency installation layer, and pnpm install only re-runs when the lockfile actually changes. --frozen-lockfile makes sure CI and Docker use the exact locked versions and fail if the lockfile is out of date. Notice that pnpm-workspace.yaml is copied too — if you don't, pnpm will complain about the missing workspace file.
COPY . .
RUN pnpm builddockerfile
Only now we copy the full source and run the build. pnpm build runs nuxt build and produces the .output directory.
The runtime stage
FROM node:24-alpine

USER node
WORKDIR /app
COPY --from=builder /app/.output ./.outputdockerfile
A fresh stage means the final image only has the compiled output — no node_modules, no source code, no build tooling. The USER node directive switches to the built-in non-root user, so the server doesn't run with root privileges. The files copied from the builder stage are still readable by this user.
COPY --from=builder /app/posts ./postsdockerfileIf your app reads files at runtime, copy those directories here too. For example, a file-based CMS might keep its content in a content/ or posts/ directory. Adapt it to your own data directories or remove it entirely.
EXPOSE 3000
CMD ["node", ".output/server/index.mjs"]dockerfile
Nuxt 4 runs on port 3000 by default, and the Nitro server entry point is .output/server/index.mjs.
Step 4: Build and run
docker build -t my-nuxt-app .

docker run -d -p 3000:3000 --name my-nuxt-app my-nuxt-appbash
Then visit http://localhost:3000. To check the logs:
docker logs -f my-nuxt-appbashStep 5: docker-compose example
For orchestration, restart policies and health checks, a docker-compose.yaml is handy:
services:
  app:
    build: .
    container_name: nuxt-app
    restart: unless-stopped
    ports:
      - "3000:3000"
    environment:
      - NODE_ENV=production
      - HOST=0.0.0.0
      - PORT=3000
    healthcheck:
      test: ["CMD", "wget", "-q", "-O", "-", "http://127.0.0.1:3000/"]
      interval: 30s
      timeout: 5s
      retries: 3
      start_period: 10syaml
Run it with:
docker compose up -dbashIf your app writes data at runtime, mount a volume for it:
    volumes:
      - app-data:/app/datayaml
Step 6: Reverse proxy
The container exposes port 3000, but you usually want it behind a reverse proxy on 443. A minimal Nginx site:
server {
    listen 80;
    server_name example.com;

    location / {
        proxy_pass http://127.0.0.1:3000;
        proxy_http_version 1.1;
        proxy_set_header Host $host;
        proxy_set_header X-Forwarded-For $proxy_add_x_forwarded_for;
        proxy_set_header X-Forwarded-Proto $scheme;
        proxy_set_header Upgrade $http_upgrade;
        proxy_set_header Connection "upgrade";
    }
}nginx
The Upgrade and Connection headers keep WebSocket connections working. If you prefer Caddy, the same result in one line:
example.com {
    reverse_proxy 127.0.0.1:3000
}
Notes
- Layer caching: copy
package.json,pnpm-lock.yamlandpnpm-workspace.yamlbefore the rest of the source, or every code change re-installs everything. - Build scripts: don't forget
allowBuilds: esbuild: trueinpnpm-workspace.yamlwhen using pnpm 10+. - Frozen lockfile: always use
--frozen-lockfile; it fails fast if the lockfile andpackage.jsondisagree. - Runtime data: copy the directories your app reads at runtime (posts, static uploads, etc.) into the final stage.
- Node version: keep the base image in sync with the Node version you develop on, and with the
enginesfield of yourpackage.json. - Non-root user: the runtime stage runs as the unprivileged
nodeuser viaUSER node, so the server doesn't run with root privileges. If you add it, remember any data directory you write to must be writable by that user.
AI-generated image disclosure
The cover image (/images/posts/docker-nuxt-header.webp) was generated with the assistance of an AI model (deepseek-v4-flash). In accordance with Regulation (EU) 2024/1689 (EU Artificial Intelligence Act, Article 50), this content is disclosed as AI-generated. It is an original illustration created for this article without third-party images, logos or external assets; product names (Nuxt, Docker, pnpm, Node.js) appear descriptively and no affiliation or endorsement is implied.