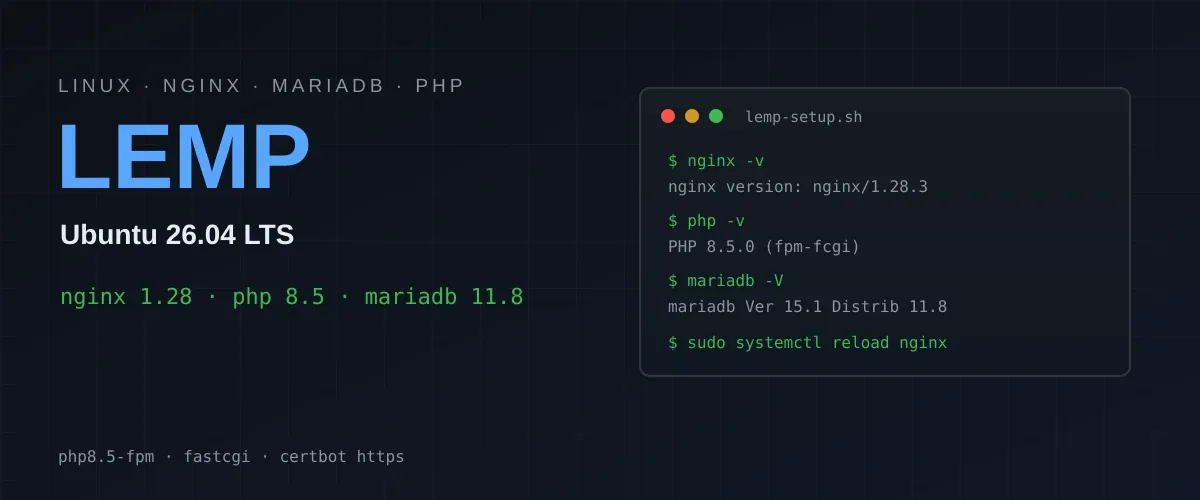
First of all, what is LEMP?
LEMP is an acronym that stands for the four main components of a classic web stack: Linux (the operating system), Nginx (the web server), MariaDB or MySQL (the database) and PHP (the scripting language).
Even though PHP powers a huge percentage of the web, the stack is increasingly common for modern frameworks like Laravel, Symfony or WordPress. If you want a reliable, high-performance and completely free foundation for a web application, LEMP is a solid choice.
What are we using in this guide?
We will install everything from the official Ubuntu repositories, which is the recommended path for an LTS release:
| OS | Ubuntu 26.04 LTS "Resolute Raccoon" |
| Kernel | Linux 7.0 |
| Web server | Nginx 1.28.x |
| Database | MariaDB 11.8.x |
| PHP | PHP 8.5 (php8.5-fpm) |
Ubuntu 26.04 LTS was released in April 2026 with support until 2031 (and up to 2041 with Ubuntu Pro). Some things to know before we start:
- MariaDB 11.8 stores its data in
/var/lib/mariadb(previously/var/lib/mysql). - The MariaDB root user authenticates via
unix_socketby default, so you log in withsudo mariadb. - The PHP-FPM service is versioned:
php8.5-fpmwith socket/run/php/php8.5-fpm.sock.
Considerations
- Minimal Ubuntu 26.04 LTS server (1 vCPU / 1 GB RAM is fine for a small site).
- A domain name pointing to your server's IP (needed for the SSL step).
- You have
sudoaccess or a root shell.
Step 1: Update the system
Always start with an up-to-date base:
sudo apt update && sudo apt upgrade -ybashA reboot is only necessary if a kernel upgrade was applied:
sudo rebootbashStep 2: Install Nginx
Nginx is in the default repositories:
sudo apt install -y nginxbashThe service starts automatically. Verify it:
sudo systemctl status nginx
nginx -vbash
nginx -v should print something like nginx version: nginx/1.28.3. The default site is enabled under /etc/nginx/sites-enabled/default, so visiting your server's IP should already show the Nginx welcome page.
Step 3: Install and secure MariaDB
Install the database server and client:
sudo apt install -y mariadb-server mariadb-clientbashCheck the installed version:
mariadb -VbashOn a fresh Ubuntu 26.04 install, MariaDB 11.8 ships with secure defaults: the root user uses unix_socket authentication, there are no anonymous users and no test databases. That means you don't even need a root password — connect as root with:
sudo mariadbbashYou can still run the security script to confirm everything is locked down:
sudo mariadb-secure-installationbashOn fresh installs the script detects the existing protections and skips most prompts — walk through it anyway to review the answers.
Now create a database and an application user for your project:
CREATE DATABASE myapp CHARACTER SET utf8mb4 COLLATE utf8mb4_unicode_ci;
CREATE USER 'myapp'@'localhost' IDENTIFIED BY 'a-strong-password';
GRANT ALL PRIVILEGES ON myapp.* TO 'myapp'@'localhost';
FLUSH PRIVILEGES;
EXIT;sql
Test the new user:
mariadb -u myapp -pbashStep 4: Install PHP and PHP-FPM
Ubuntu 26.04 ships PHP 8.5. Install the FPM process manager plus the extensions you'll need:
sudo apt install -y php-fpm php-cli php-mysql php-curl php-gd php-intl php-mbstring php-xml php-zip php-bcmathbashCheck the version and the service:
php -v
sudo systemctl status php8.5-fpmbash
PHP-FPM should be running and listening on /run/php/php8.5-fpm.sock. You can confirm with:
sudo ls /run/php/bashIf you need to change FPM settings (memory limits, user, pool size), edit the pool configuration:
sudo nano /etc/php/8.5/fpm/pool.d/www.confbashAfter any change, reload the service:
sudo systemctl restart php8.5-fpmbashStep 5: Create a virtual host
We'll create a dedicated directory and server block instead of using the default site. Adjust example.com to your own domain.
Create the web root and set ownership:
sudo mkdir -p /var/www/example.com/html
sudo chown -R $USER:$USER /var/www/example.com/htmlbash
Create a server block file:
sudo nano /etc/nginx/sites-available/example.combashWith the following content:
server {
    listen 80;
    listen [::]:80;
    server_name example.com www.example.com;

    root /var/www/example.com/html;
    index index.php index.html index.htm;

    location / {
        try_files $uri $uri/ =404;
    }

    location ~ \.php$ {
        include snippets/fastcgi-php.conf;
        fastcgi_pass unix:/run/php/php8.5-fpm.sock;
    }

    location ~ /\.ht {
        deny all;
    }
}nginx
Enable the site and disable the default one:
sudo ln -s /etc/nginx/sites-available/example.com /etc/nginx/sites-enabled/
sudo rm /etc/nginx/sites-enabled/defaultbash
Test the configuration and reload Nginx:
sudo nginx -t
sudo systemctl reload nginxbash
Step 6: Test PHP processing
Create a test file in the web root:
echo '<?php phpinfo();' > /var/www/example.com/html/info.phpbashRequest it over HTTP:
curl http://localhost/info.phpbashYou should get the PHP information page. Verify PHP is talking to the database with a small script:
<?php
$conn = new mysqli('localhost', 'myapp', 'a-strong-password', 'myapp');
echo $conn->connect_errno ? 'Connection failed: ' . $conn->connect_error : 'Connected to MariaDB.';php
And request it:
curl http://localhost/test-db.phpbashOnce verified, delete both test files — exposing phpinfo() on a public server is a security risk:
rm /var/www/example.com/html/info.php /var/www/example.com/html/test-db.phpbashStep 7: Configure the firewall
If you enabled UFW (or plan to), allow SSH and HTTP/HTTPS traffic:
sudo ufw allow OpenSSH
sudo ufw allow "Nginx Full"
# o
# sudo ufw allow http
# sudo ufw allow https
#
# o
# sudo ufw allow 80
# sudo ufw allow 443
sudo ufw enablebash
Check the status:
sudo ufw statusbashNginx Full opens ports 80 and 443. If you need to reach MariaDB from outside, that's a separate mariadb or 3306 rule — but for a single-server setup you should leave the database local.
Step 8: Enable HTTPS with Let's Encrypt (optional but recommended)
With a domain pointing to your server, you can get a free certificate in minutes:
sudo apt install -y certbot python3-certbot-nginxbashThen issue the certificate and let Certbot adjust the Nginx config:
sudo certbot --nginx -d example.com -d www.example.combashFollow the prompts and choose the redirect option when asked. Certificates are renewed automatically, but verify the renewal works:
sudo certbot renew --dry-runbashYour site is now served over HTTPS.
Notes
- MariaDB data directory: 11.8 uses
/var/lib/mariadb. Back up that directory (or usemariadb-dump) when migrating from older releases. - Root auth: MariaDB root uses
unix_socketauthentication. Usesudo mariadbinstead of setting a root password. - PHP-FPM socket: the path is versioned. If you install another PHP branch, check
/run/php/for the correct socket. - Upload limits: apps like WordPress need
client_max_body_sizein Nginx andupload_max_filesize/post_max_sizein PHP adjusted for bigger uploads. - WordPress: as of writing, WordPress requires PHP 8.3+ and MariaDB 10.6+ — Ubuntu 26.04's defaults exceed both.
AI-generated image disclosure
The cover image (/images/posts/lemp-header.webp) was generated with the assistance of an AI model (deepseek-v4-flash). In accordance with Regulation (EU) 2024/1689 (EU Artificial Intelligence Act, Article 50), this content is disclosed as AI-generated. It is an original illustration created for this article without third-party images, logos or external assets; product names (Nginx, MariaDB, PHP, Ubuntu) appear descriptively and no affiliation or endorsement is implied.